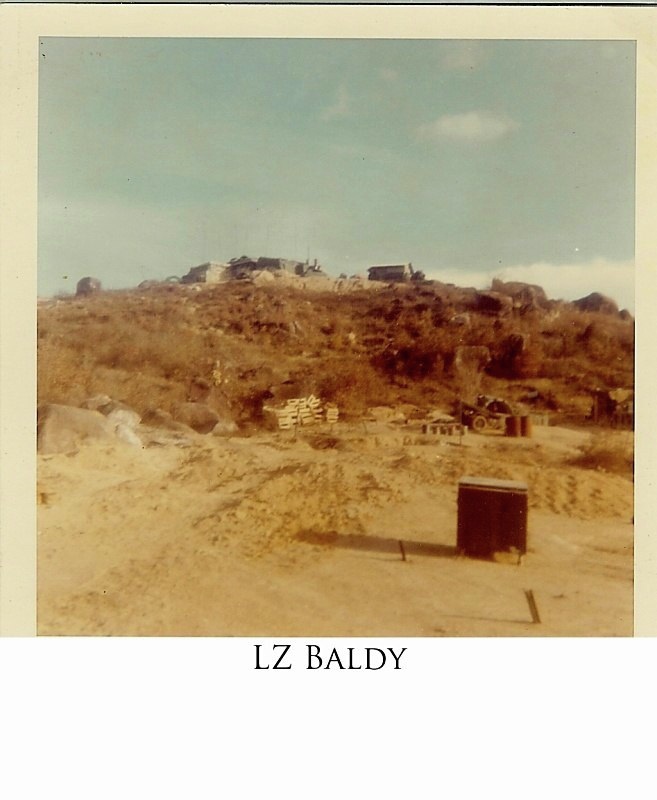
LZ Baldy Then
Click On Map To See Larger
Map Coordinates BT133453 (BT 135 305) GPS Coordinates 15°46'13.59"N 108°19'12.03"E (Click to See Satellite) |
 |
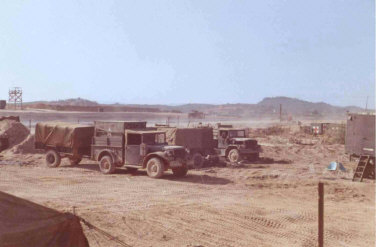
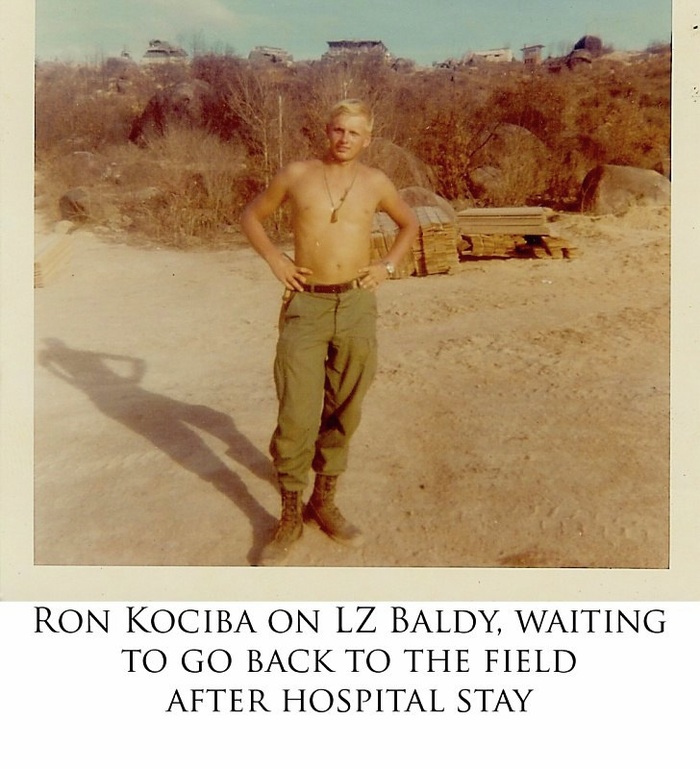
Pictures from the following photos come from many contributors to our site. Jesse Brooks and Ron Kociba. All have been confirmed to be LZ Baldy by the contributor. Email Us to contribute more to this page.
CLICK ON THE PHOTOS TO SEE LARGER

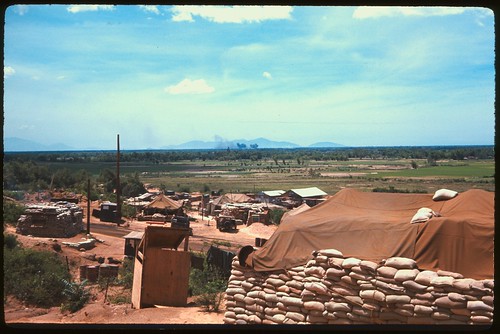
The Following Photos are embedded from the Flickr Site of Reivax. They were taken by CPT Seale Tuttle (3/82 Arty, 196th LIB). The Photos and Rights Below to Him and we are thankful to be able to use them on the site.
An air strike going in as seen from LZ Baldy - Photo from CPT Seale Tuttle

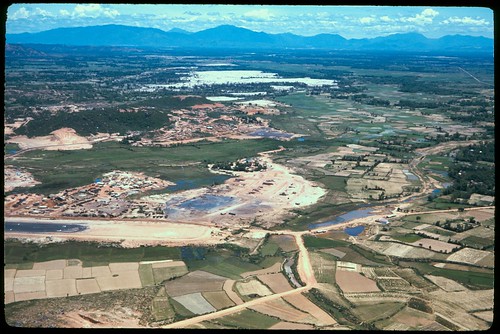
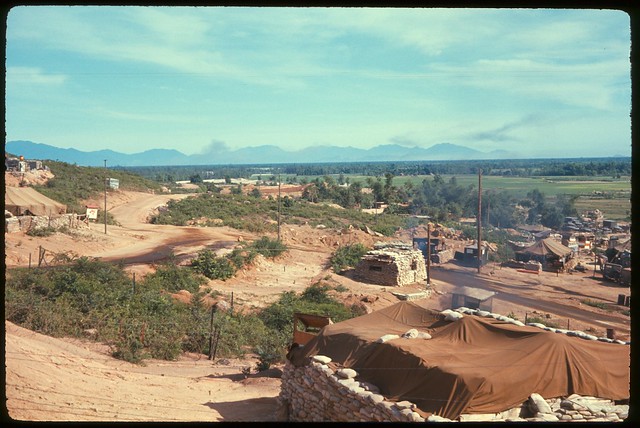
LZ Baldy showing main hill and runway - Photo from CPT Seale Tuttle
LZ Baldy looking north showing entrance and main hill - Photo from CPT Seale Tuttle
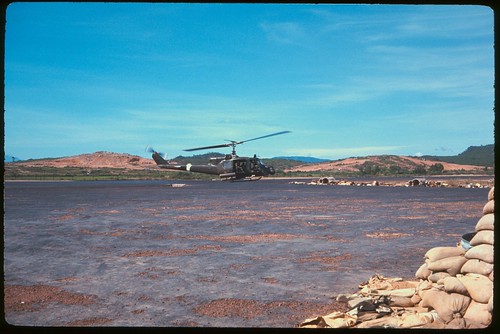
A Huey gunship taking off from the LZ Baldy pad - Photo from CPT Seale Tuttle
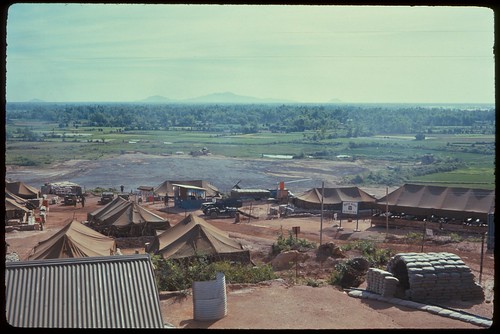
The lower helicopter pad at LZ Baldy showing the EM Mess - Photo from CPT Seale Tuttle
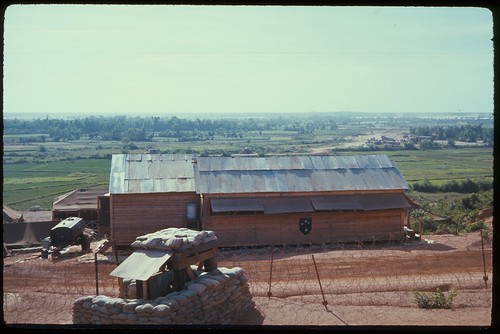
196th Bde senior officers' mess at LZ Baldy - Photo from CPT Seale Tuttle
A distant air strike as seen from the TOC tower at LZ Baldy - Photo from CPT Seale Tuttle
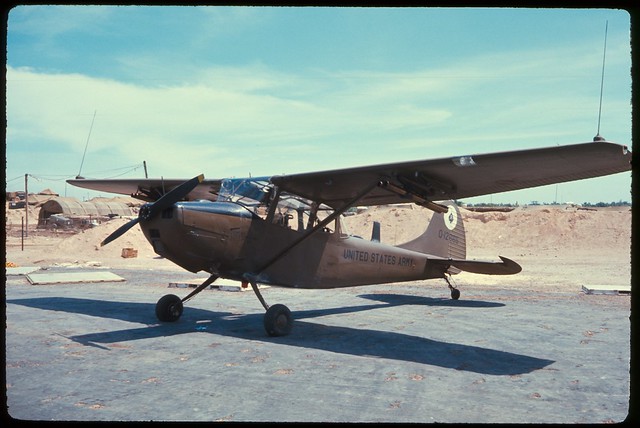
A "Black Ace" L-19 at LZ Baldy ready to take an observer up - Photo from CPT Seale Tuttle
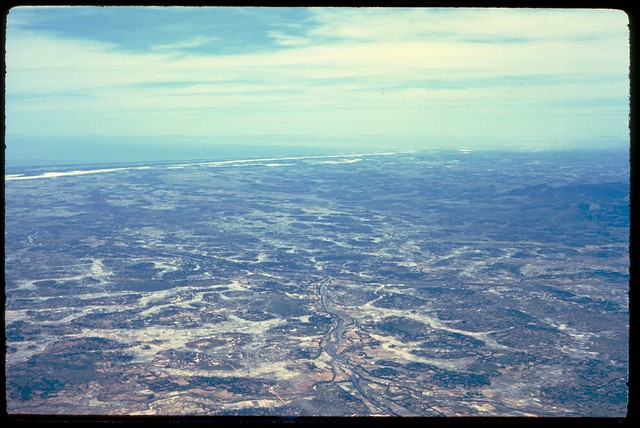
The coast south of LZ Baldy looking toward Chu Lai - Photo from CPT Seale Tuttle